
Test Shoot 1
We have now made a test shoot for our music video, though it is extremely rough I feel it has been a productive process and has been beneficial to the development of our idea.
We filmed the test shoot in the space of 40 minutes on an iphone with whomever we could find, this was after all a rough test shoot - to see if our current rough timeline would fill the 3 minute cut of the track effectively. During this shoot we stumbled across some great casting choices, and some ideas as to the stylistic elements of our shoot, we discovered what worked and what didn't - what we should keep, what we should cut, and what we should use next time.
Aggressive dance
Aggressive dance

Here are some points that we liked about this performance strand:
- Ollie is a good actor for our music video and the role we want him to play. There aren't many students at our collage that go for it as much as he does in the aggressive dancing department, his performance in this rough test shoot is more impressive considering the fact that we couldn't play the track out loud whilst filming him as there weren't any speakers available to us in the studio. Ollie fits the image of the track and the overarching rebellious outlook of our young intended target audience.

-
The colour grade on the footage looked good, the green, grainy style look very grimy and grungy and wasn't too far off what we are looking for in our final product.


- The use of the studio light was great, making the lighting harsh, also Ollie dancing in front of the light, creating a flashing effect added to the energy and aggression of the sequence visually.
- The handheld camera movement worked very well, pulsating alongside the heavy underlying bass hits of the track. the handheld movement also allowed the cutting of this element easy, and looked good. Ollie ducking out of frame a lot meant I could for example cut from him being far from the camera to him popping up extremely close to the camera - making the video more dynamic and again amplifying the action-aggression vibes of the performance element.

Things we didn't like:
- Ollie's dancing may have been rowdy but it needs to be choreographed for the actual shoot, not too heavily choreographed though so that we can maintain the aggressive chaotic vibe.
- Ollie's clothing wasn't entirely correct, not far off but I think it needs to be more grungy, maybe a leather jacket and some 80's military boots. We did like the all black look though.

- The location needs to be a lot more grimy, a lot more industrial and a lot dirtier for us to achieve the look we want in our final product. A location that's going to be eye catching and again amplify the grime.
Things we would like to add in our next test shoot:
- We think it would look much better, and more atmospheric if there was more people in this sequence, dancing aggressively alongside Ollie, but keeping the focus on Ollie as he clearly has a knack for this style of performance. Perhaps they would be surrounding him - we would cut from close ups and mid shots of individuals of the group to wides of the whole group together. We are thinking around 4-10 others in this element next time.
Drummer
 The next section of the video we filmed was the drumming performance element, the
backbone of our idea as it stands. Tom, our primary choice wasn't available so we used Gustavo, another talented drummer in the school. We used the help of two of my friends to hold the drums in abstract positions for the short shoot, the drums weren't positioned how we want for the actual shoot as we didn't have the resources. We used one of the recording studios where a drum kit was accessible and filmed one shot that I could use to cut in and out of in the edit. The whole shot was handheld and extremely shaky, this worked and didn't work at times. Sometimes it was good and chaotic, at other times it would have been nice to focus on the drums and the connection of the sticks on the drums.
Things we liked:


- Gustavo turned out to be a very good drummer for our video, keeping rhythm with the track that again wasn't playing out loud during the filming - he picked up the tune after one listen to the track, which made editing the footage in time to the music much easier.
- The drum setup, though scruffy looks good, and appeared to have been not too much of a challenge for our drummer to incorporate all drums in the performance.
- Again the colour grade on the footage looked nice, but was obviously very rough - but we were able to get an idea of what we want for next time.

- We know that if we could only get one drummer on the day that we could make the sequence look interesting enough with just that one.
Things we didn't like:


- In this shoot we don't see the face of the drummer, his expression, his mood etc. ideally we would want to see his anger and rage to make the video more empowering, and to give the audience a chance to develop a relationship with him. I think that the mood of the video would be enhanced if we got to see more of him. If we were to show his face the drummer would have to look the part, he couldn't be neutral.
- I think that the decision to have all of the shots for the drumming sequence handheld was wrong, we should have some stable, tripod shots at times. This was mainly because we didn't have the resources, as it was shot on an iphone. The next test shoot will be shot on a canon 7D with access to a tripod and an adjustable lens and depth of field.
- There wasn't enough drums available for us to create something similar to what we want for our real music video, so next time we will try and get both drum kits in the school involved and make the setup something closer to what we will use in the final product.

Things we would like to add in the final test shoot:
- In the next shoot we are aiming to use 3-5 of the drummers in the school at the same time as to test visually the change in the performance element, where we go from seeing one drummer, to multiple drummers. This is a fairly important event in the video as it brings something new and exciting for the audience to see - and is a strand of our USP in the video - interesting drum setups.

- We want to create a more interesting set than a recording studio for the next test shoot, obviously nowhere near as detailed as what we want for our

- We will experiment next time with both handheld and stable camerawork and see what they look like when cut together to the track to gain an understanding of how good the contrast will look side by side.
Guitar

 After consulting one of the music tech teachers at our collage we discovered that the prominent electronic wining/groaning sound in the track was a distorted guitar. So as there was a guitar in the room where we filmed the drumming sequence we quickly got Gustavo, the drummer we used, to play a simple cord and make it look like he was playing the same chord that can be heard in the track. He bends the string and slides his fingers up the neck of the guitar - which visually fits the sound of the distorted guitar in the track. There isn't too much else to say about this part of the performance element, other than this should be a very small section in the music video, and shouldn't be heavily concentrated on.

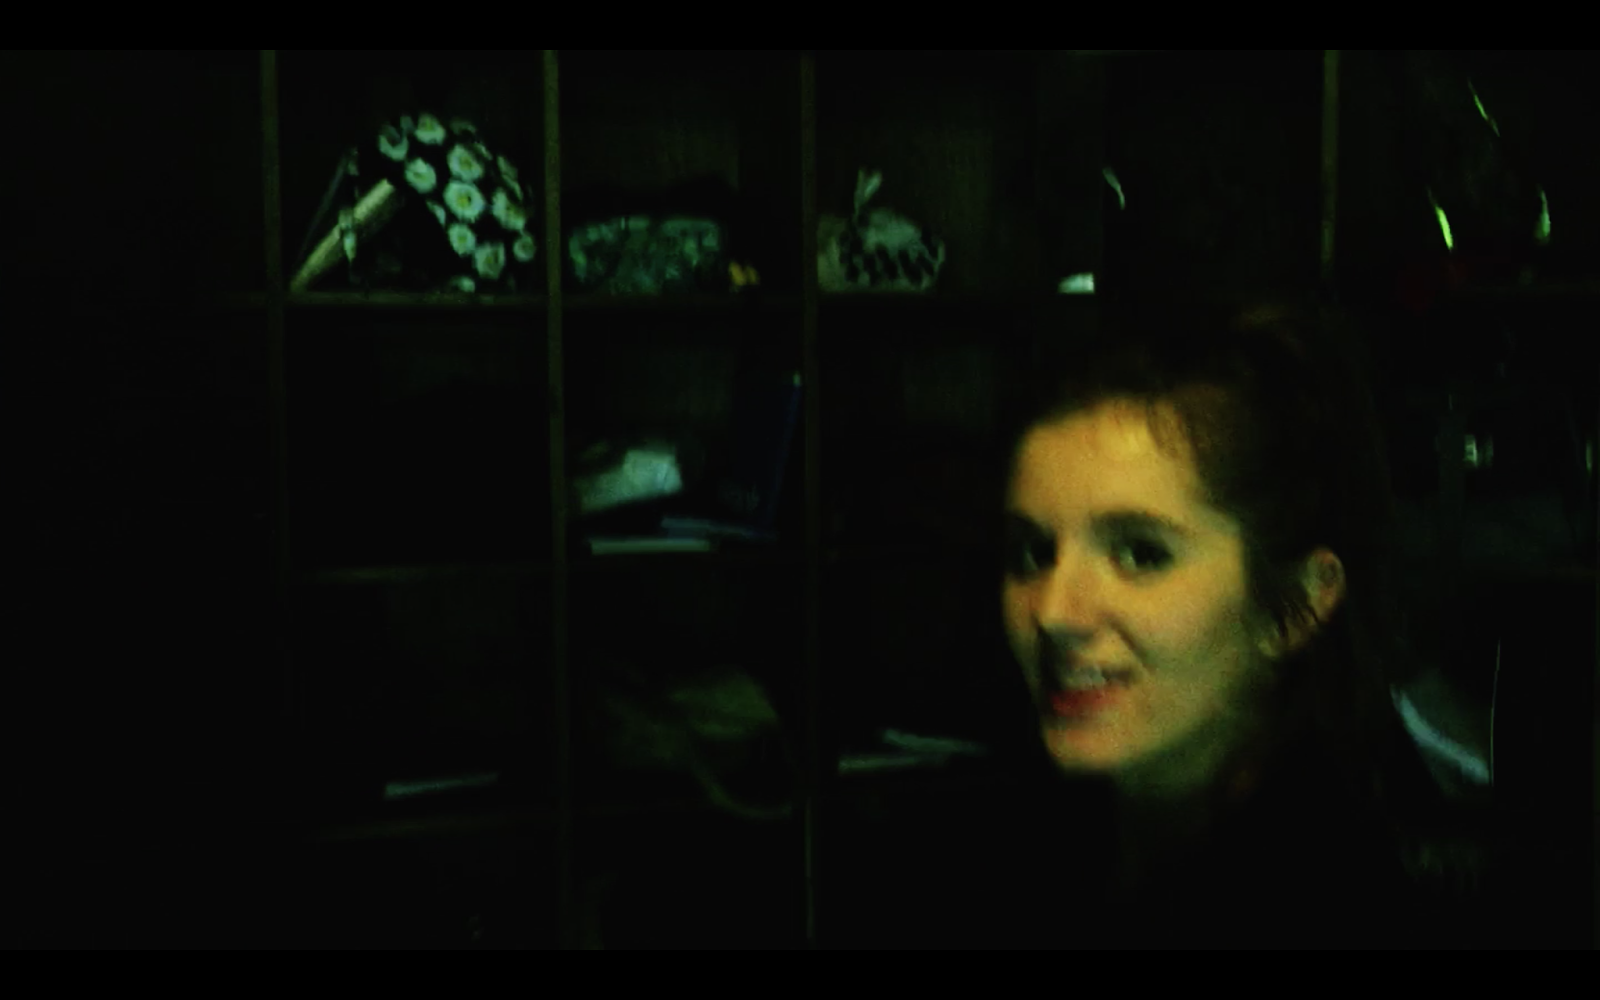

In the testing for the lip sync we changed the actress we are going to use for the real thing. As Lucy wasn't available on the test shoot, we used Cassie. It then became clear that Cassie was better for the part than Lucy as she ha naturally got a lot more stage presence and confidence in front of the camera. Cassie is also a singer in real life and there for knows how to look natural when lip syncing.
This section of the test shoot was filmed very quickly as we didn't have much time, this is why I simply repeated the sequence over and over in the edit.
Things we liked:
- Cassie was very confident in front of the camera, we have confirmed with her that she is available to be the singer in our final product.

- There was a large vertical support pole where we were filming, Cassie moved behind this in the shoot and the result looked good visually. We think that we will have our singer walking through either the drummers or amongst a group of rowdy lads.
- The colour grade again worked well, making the footage look dark and stylised
Things we didn't like

- There wasn't enough going on, the lip sync should evolve and develop throughout the video to make it more interesting to watch.

- The costume wasn't interesting enough. We need her costume to be more outrageous and eye catching, perhaps grungy, punky, dystopian style - I feel this would suit the look of the rest of the video and would add to the array of interesting features in the video.
Things we would like to add in the final test shoot:
- In the final test shoot we will film our singer alongside the drummers so we can see if that looks good or if we need to change the scenario yet again.
The Colour Grade
 |
| Before colour grade |
 |
| After colour grade |
 The colour grade has been a key stage in the making of our test shoot, which in my opinion wasn't too horrendous. Without the colour grade the footage would have been flat and boring, colourless. This is because we had little if any access to proper lighting or interesting sets. The colour grade gave the footage a grainy, high contrast quality, and the colour green dominating the shadows, mid-tones and highlights added a certain identity to the video.
Here's how I colour graded the footage:
 First of all I cut the whole track together, before I colour graded anything so that I could get an idea of if the final order of the sequence was correct before I wasted any time colour grading clips that would never need to be used. Once i'd cut everything together and was happy with the result I went onto the effects panel to choose my preferred colour grading tool for fast, basic grading - RGB curves. This tool affects three three colour channels: Red, Green, and Blue. Specifically the tool adjusts the balance/intensity of the three colours in the highlights, shadows and mid-tones, essentially adding a colour hue to the clip. You can also adjust the intensity/exposure of the clip through the master adjustment section. I made the shadows a little darker and the highlights slightly brighter - in other words increasing the contrast. With the Green curves section I increased the saturation of greens in the lighter section of the shadows, bordering on the mid-tones. This also increased the saturation in the highlights slightly de to the position of the point I created on the line. Once I was satisfied with this colour alteration on the clips of Ollie dancing I simply copied the RGB curves section of this clip and pasted it onto all the other clips of Ollie dancing as I was pushed for time and didn't want to waste too much time on a sloppy test shoot. I followed the same process with the other elements of the shoot and am happy with the final result. We will be looking to create a similar effect in our real shoot - but obviously much more meticulously as to make the video look as good as it can.
In conclusion, it was a successful test shoot, and there are many things that we liked and will aim to build upon, and also many things which need to be changed. This test shoot has been crucial to the development of our idea.
No comments:
Post a Comment