


We would drag clips onto different sections of the timeline in a rough order, we were finding clips for the whole sequence and putting them on the timeline in places where we thought they would most likely go up we did end up using them, we didn't do this process in a periodical order from beginning to end as we knew that we might come across problems later on, for example we could become to focused on the very beginning of the opening sequence and make it too long which would then mean that we would have to cut some great shots later on.
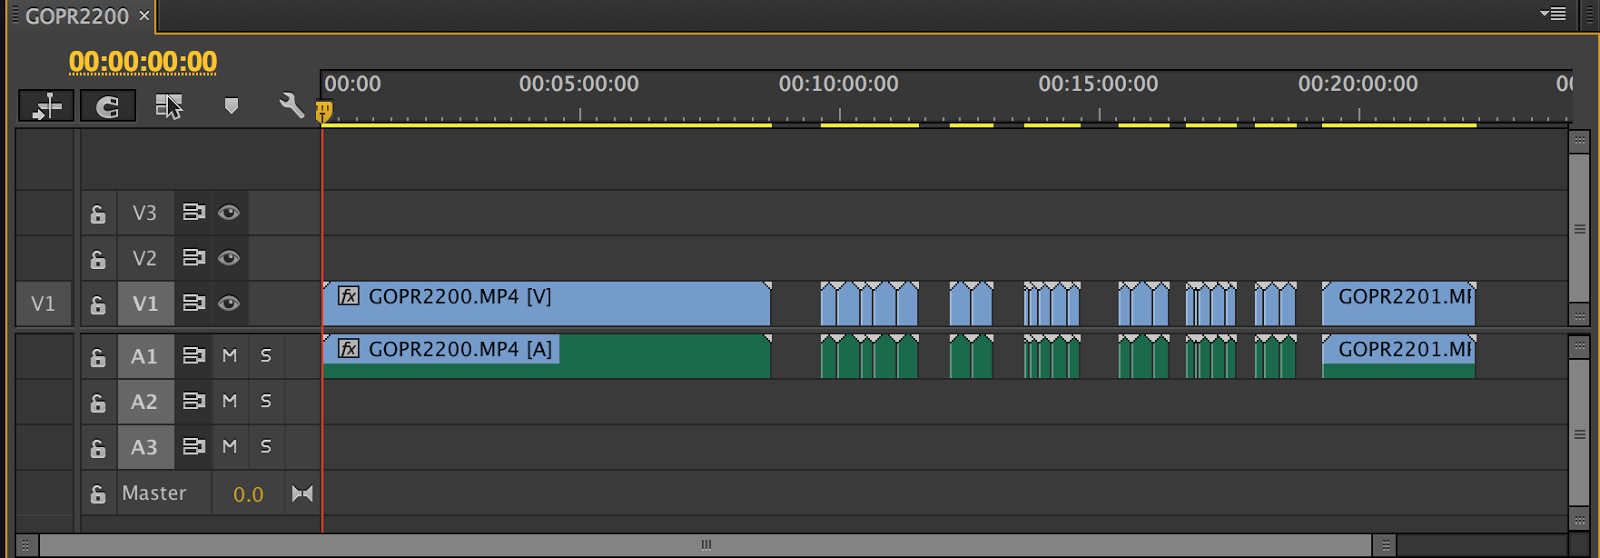
This process took a long time, but eventually we sifted through all of the footage and put all of the shots that we thought were good onto the log timeline. We were then ready to make the real timeline. Although we didn't have to look through all 89 of the shots from the shoot day it was a very difficult task to create a decent picture cut that created tension without adding sound.
 After 2 or 3 hours of editing the picture cut we had created a rough version of what the opening sequence would look like, however it was almost 8 minutes in length which was obviously WAY too much for our opening sequence, so we had to do a lot of cutting to get the overall length of the sequence to the right length. This proved to be a very difficult job and forced us to have to cut some of the shots that we really liked, or at least make them shorter.
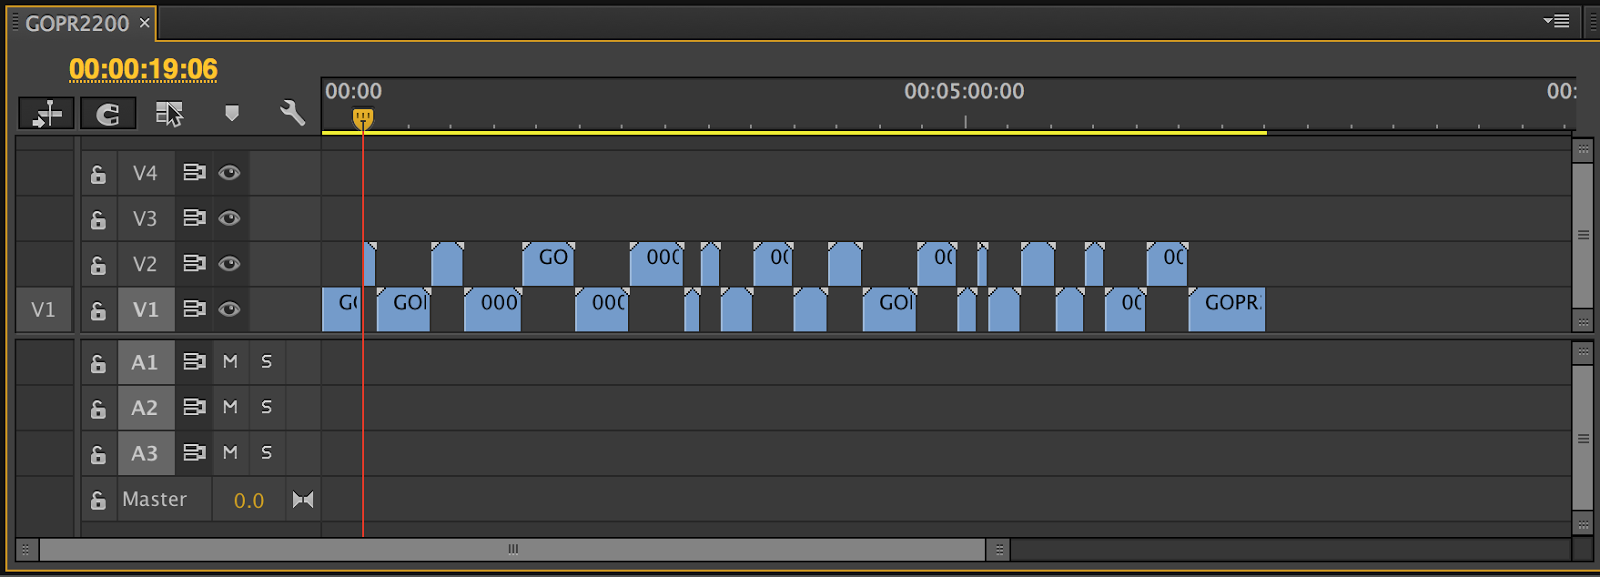
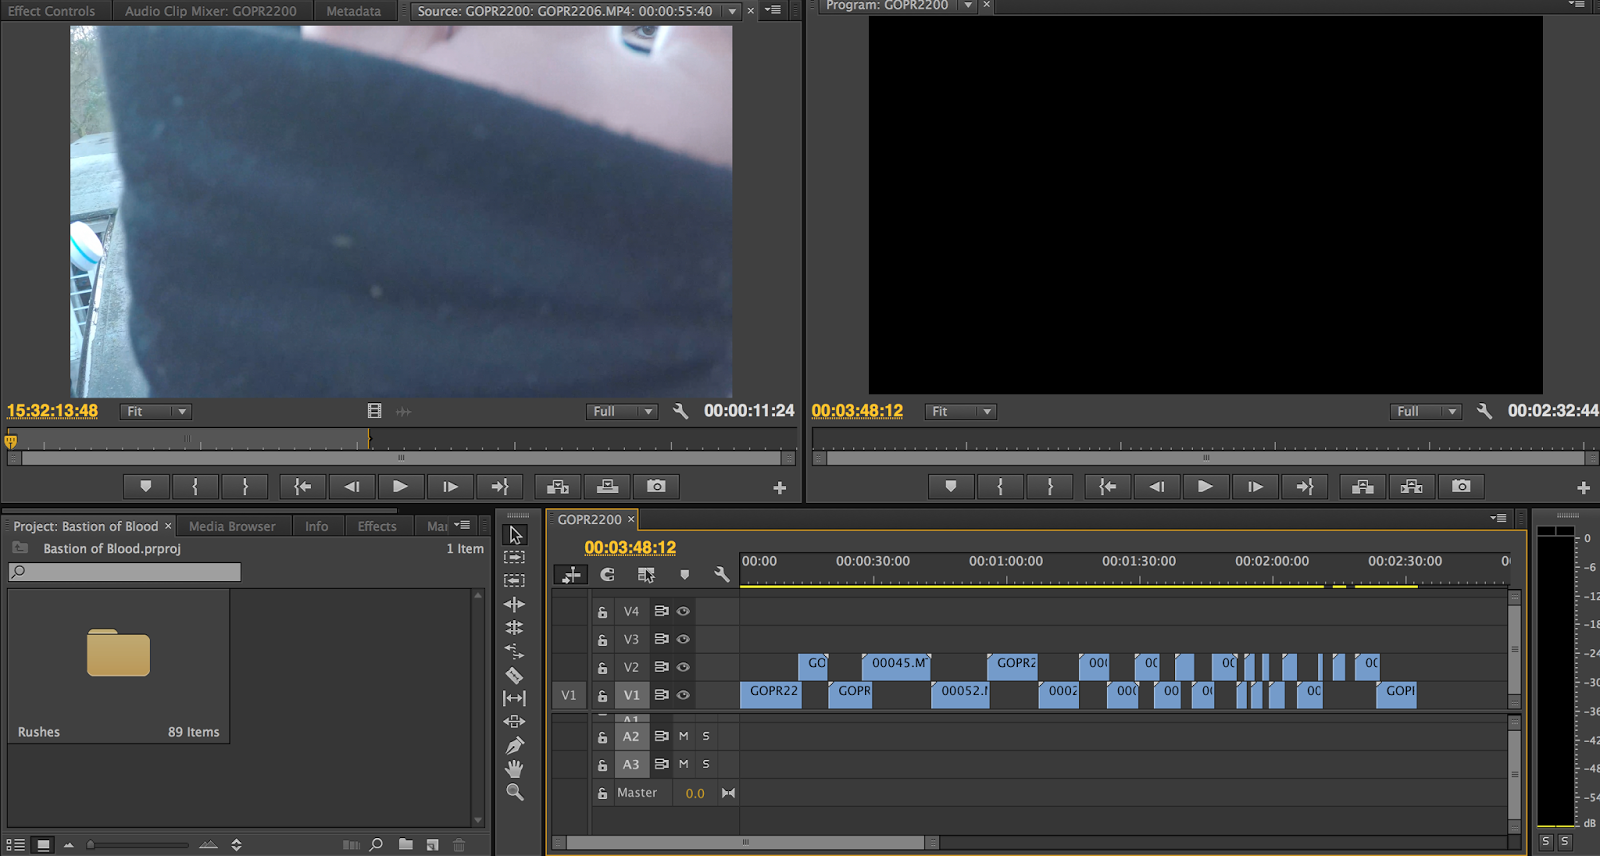 After a couple more hours we had created a picture cut that was 2 and a half minutes in length which was pretty much the smallest we could make the opening sequence without taking out one or two of the shots we really didn't want to take out. During this process we had strayed almost entirely from what our original plan for our thriller was, this was a combination of what we shot on the actual shoot day and also what we edited afterwards. We realised that actually there were much better ways to create tension in the thriller and we were only able to decide what we wanted once we saw what it looked like on screen and after we had seen what shots we had attained on the shoot day.
  |
| Our shot list |
Despite using different shots than what we intended to and putting everything in a different order I am very satisfied that our picture cut has turned out as it has, and I'm sure that what we have now is better than what we had planned to create.
I found that continuity was a pain in my thriller asI had to make sure that objects and people weren't out of place and that there weren't any major errors in the opening sequence, this took me a while but not as long as I expected as we were fairly religious on the shoot day and were carful not to make too many errors.

However one error that we did encounter was a shot where our sniper is taking off his glove in preparation for setting up the rifle. We had to shoot a sequence on a different part of the roof of Peaslake house due to health and safety reasons and the area where we shot the close ups was visibly distinguishable from the area that mike sets up his rifle in a long shot filmed by the drone, one key difference was that there were railings on the edge of the platform where we filmed the close ups and there wasn't railings on the edge of the platform in the other area. In the shot above you can clearly see the railing in the background, so I looked up a way to zoom in on the clip without cropping it easily and efficiently. This was the process:

First I clicked on a video clip from the official timeline for the opening sequence, this opened the clip and all the settings and effects options for that individual clip, I then clicked on the effects tab which gave me three options: Motion, Opacity and time remapping, I had to open up motion to get what I needed.


No comments:
Post a Comment